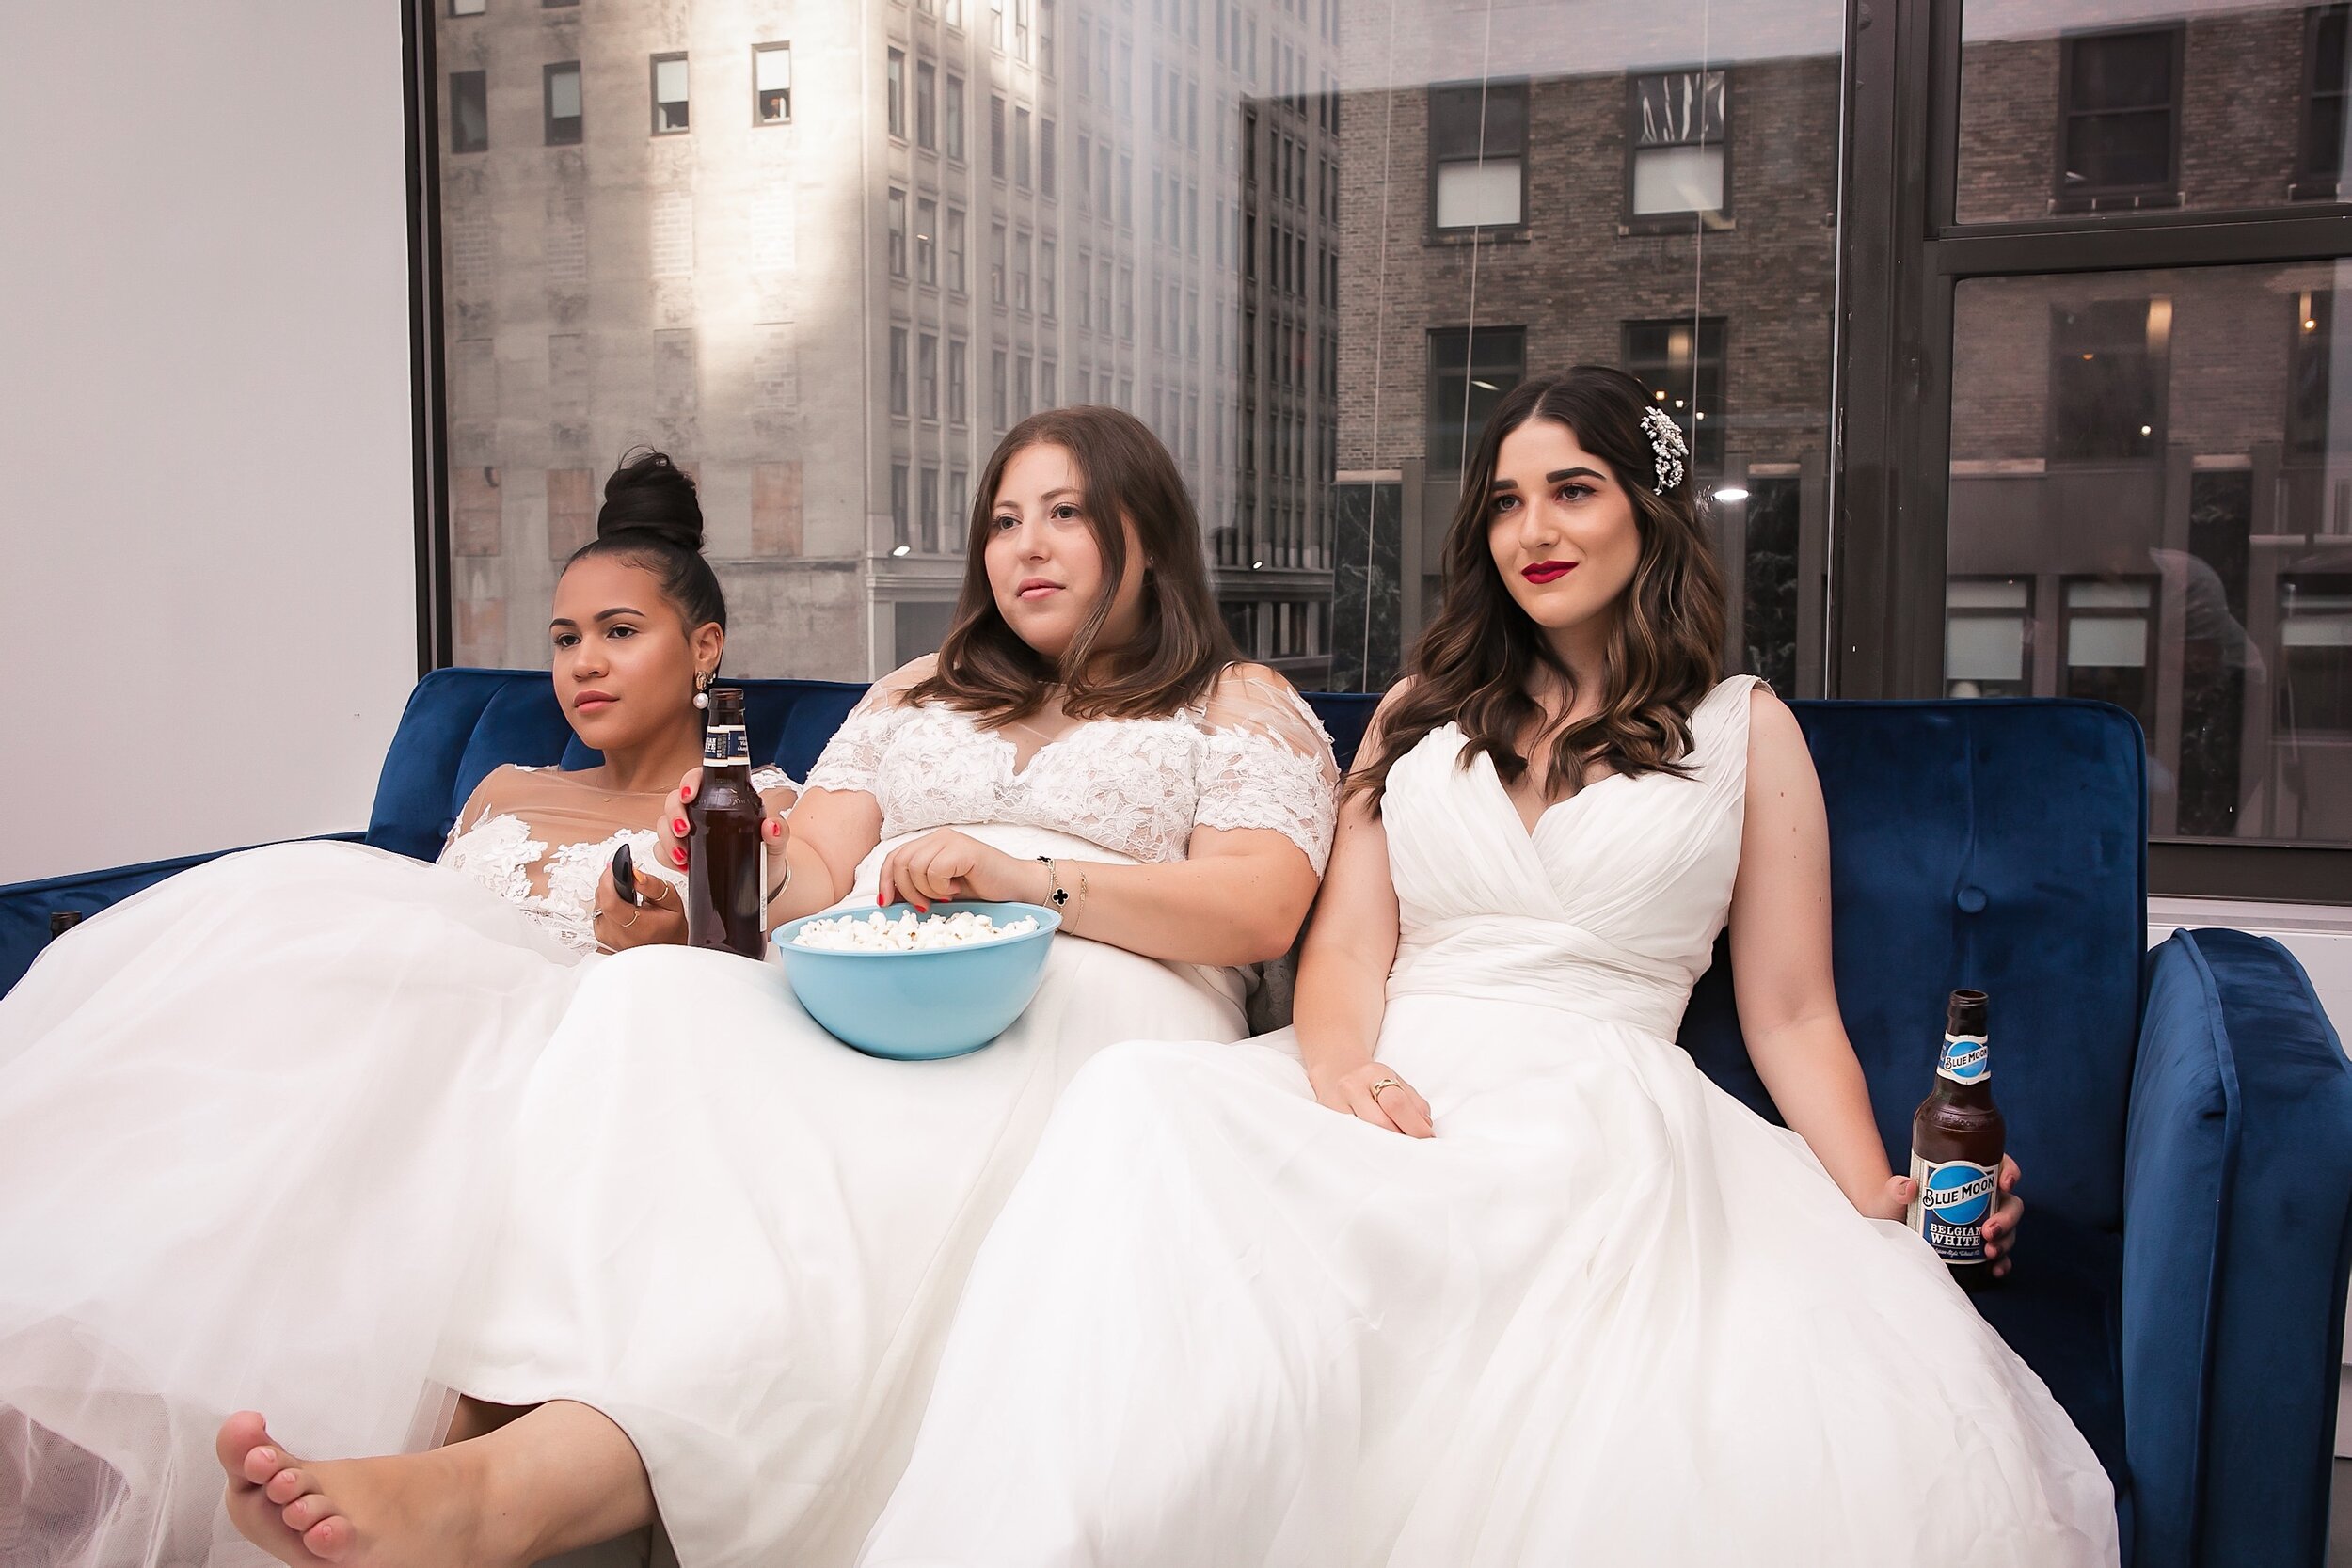
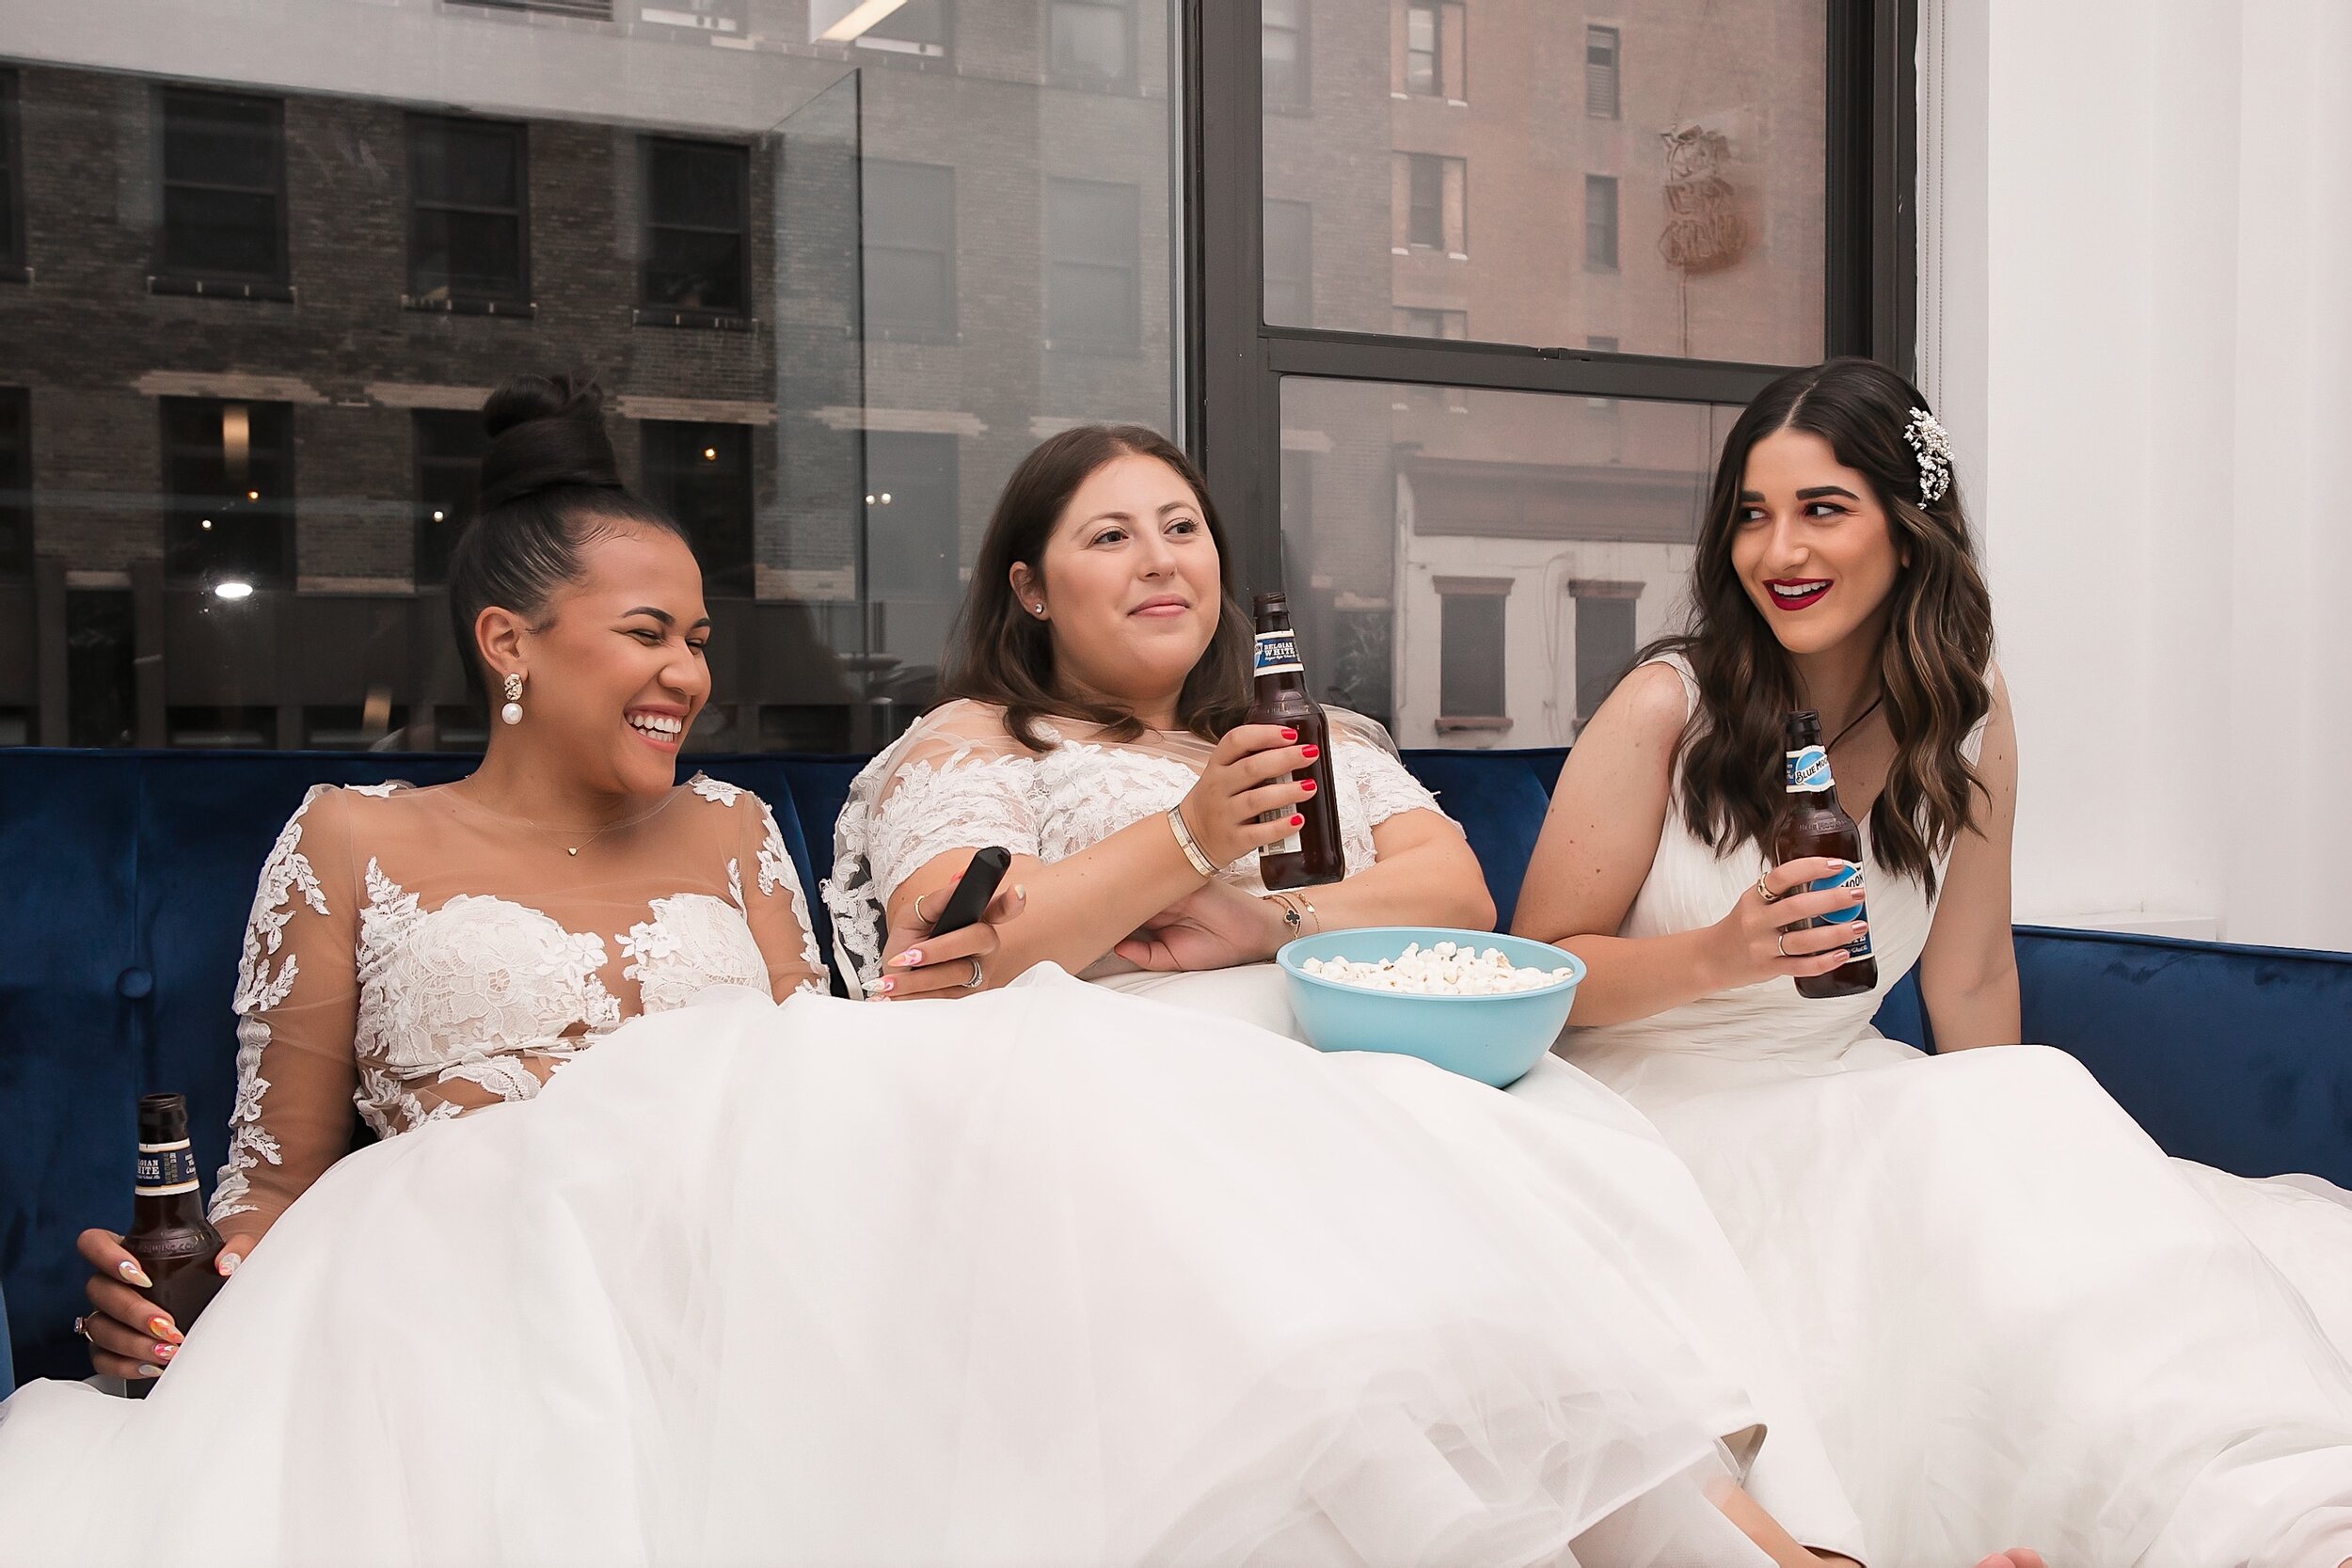
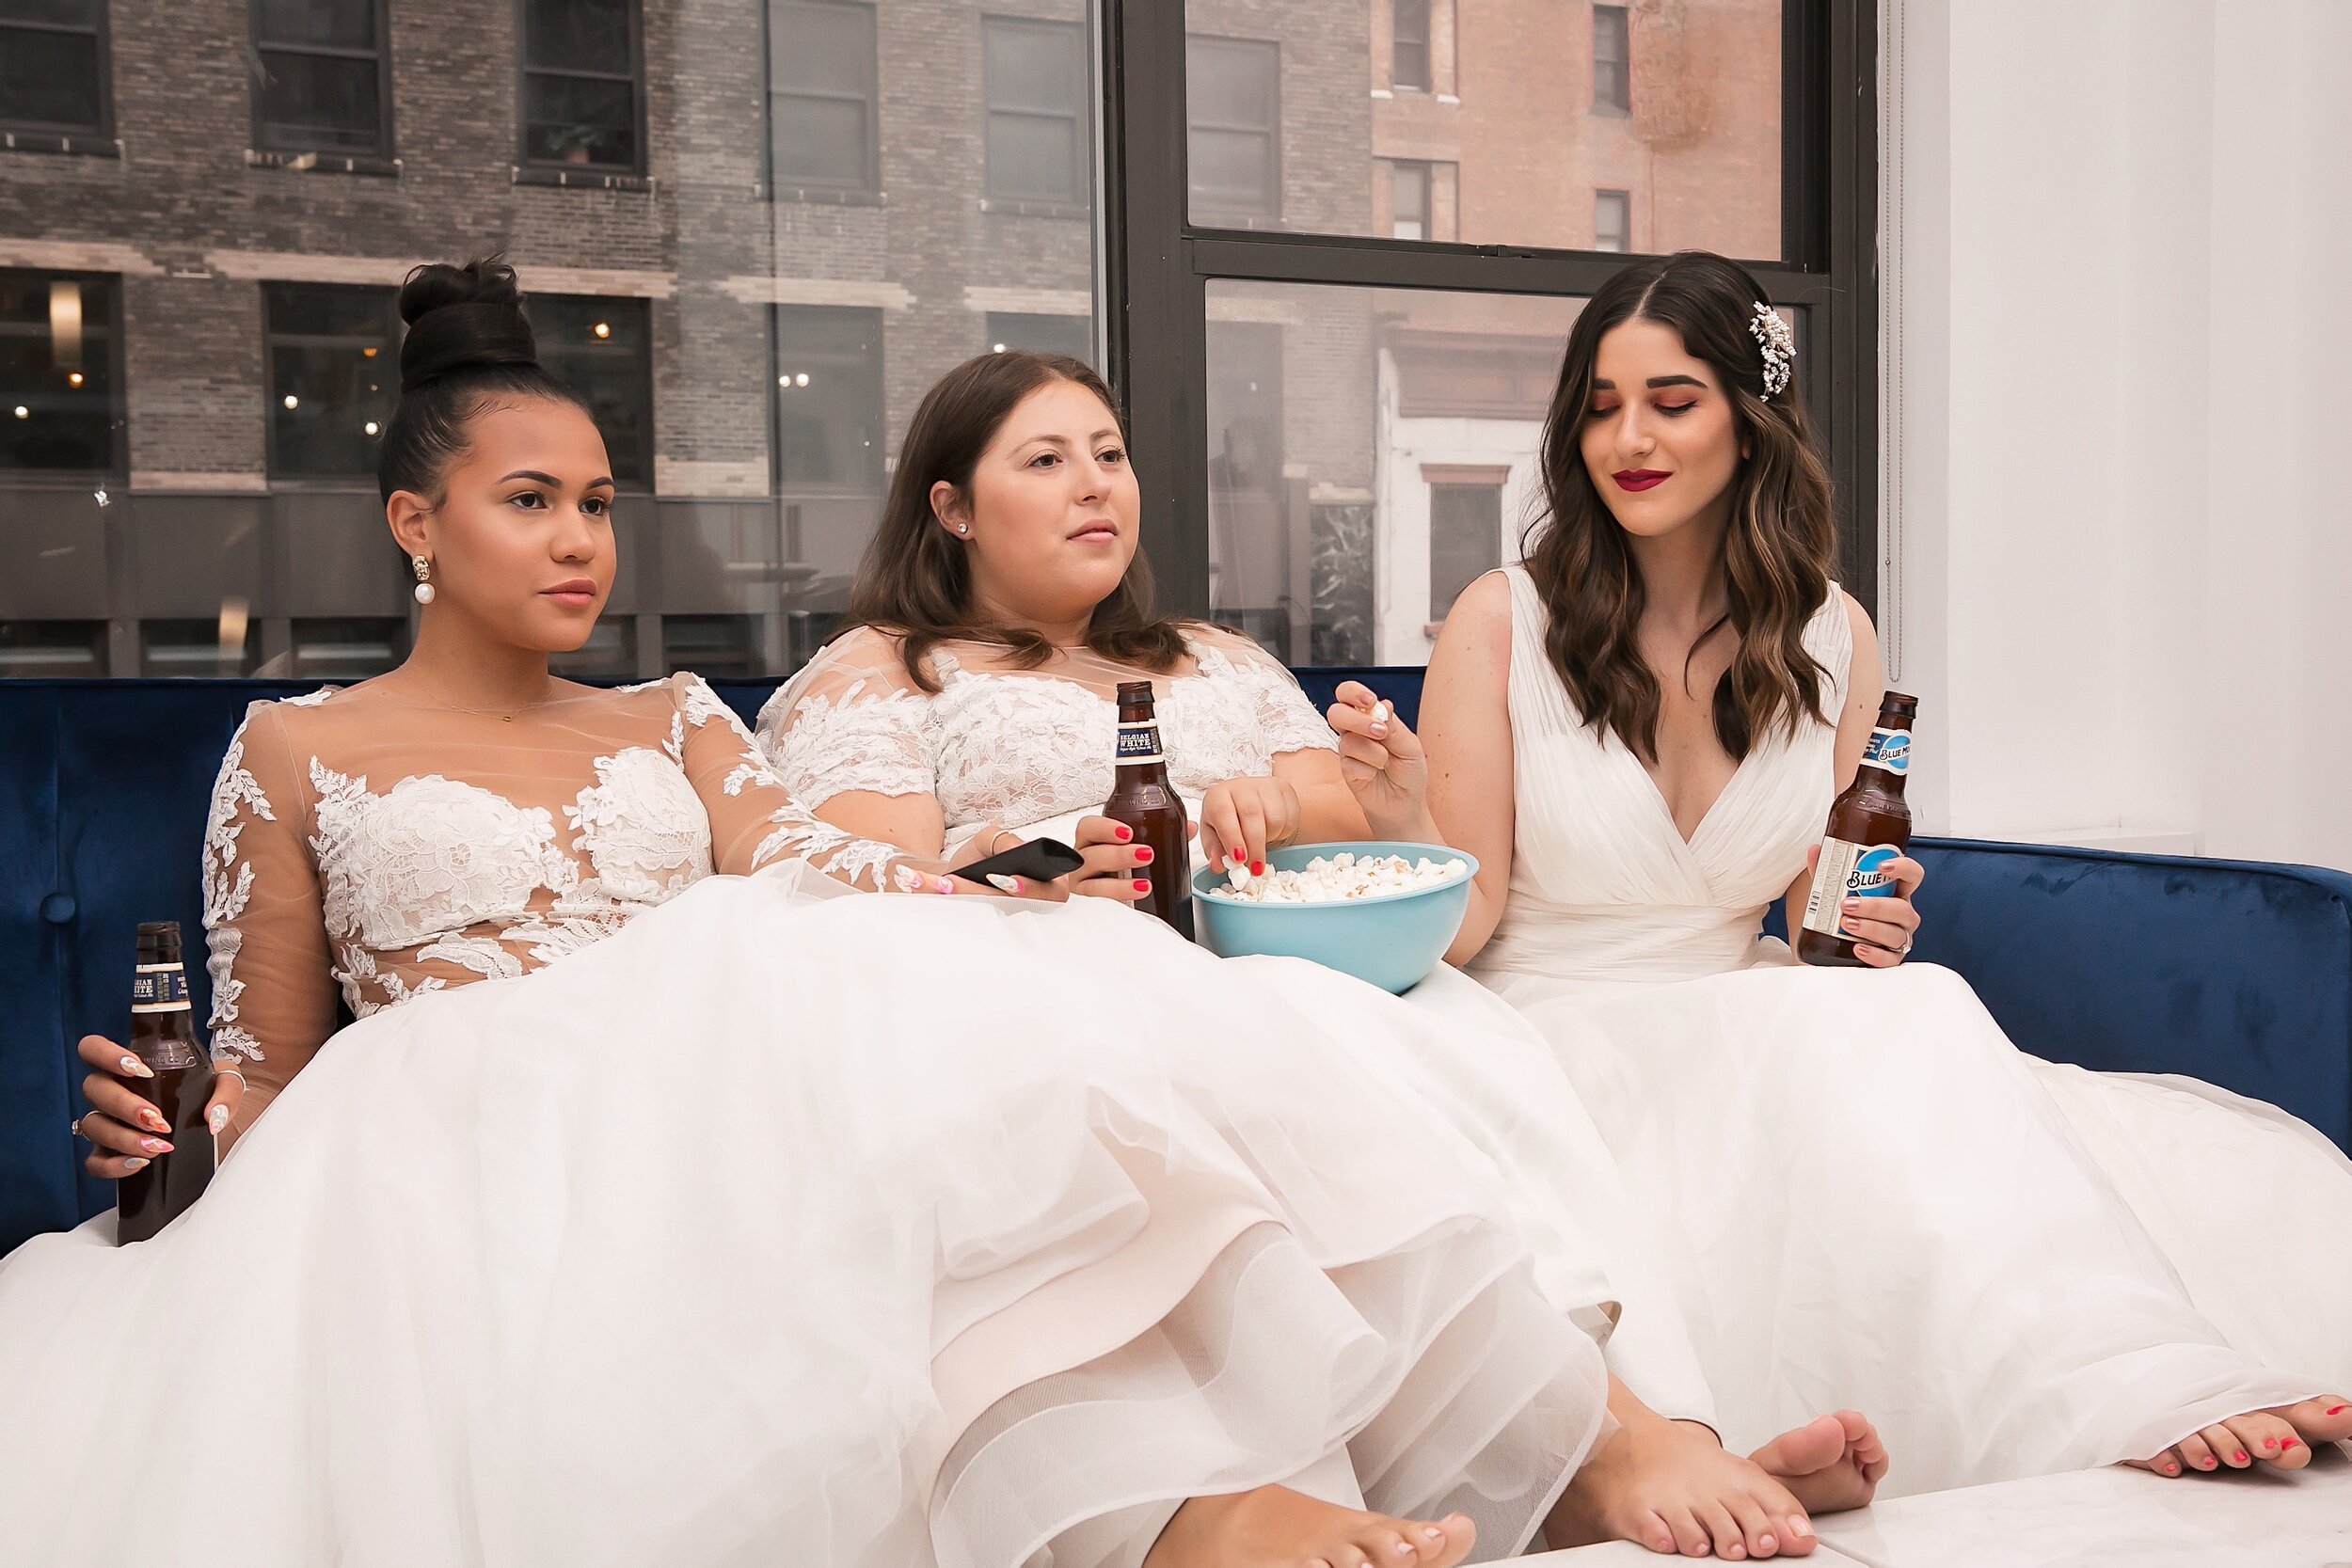
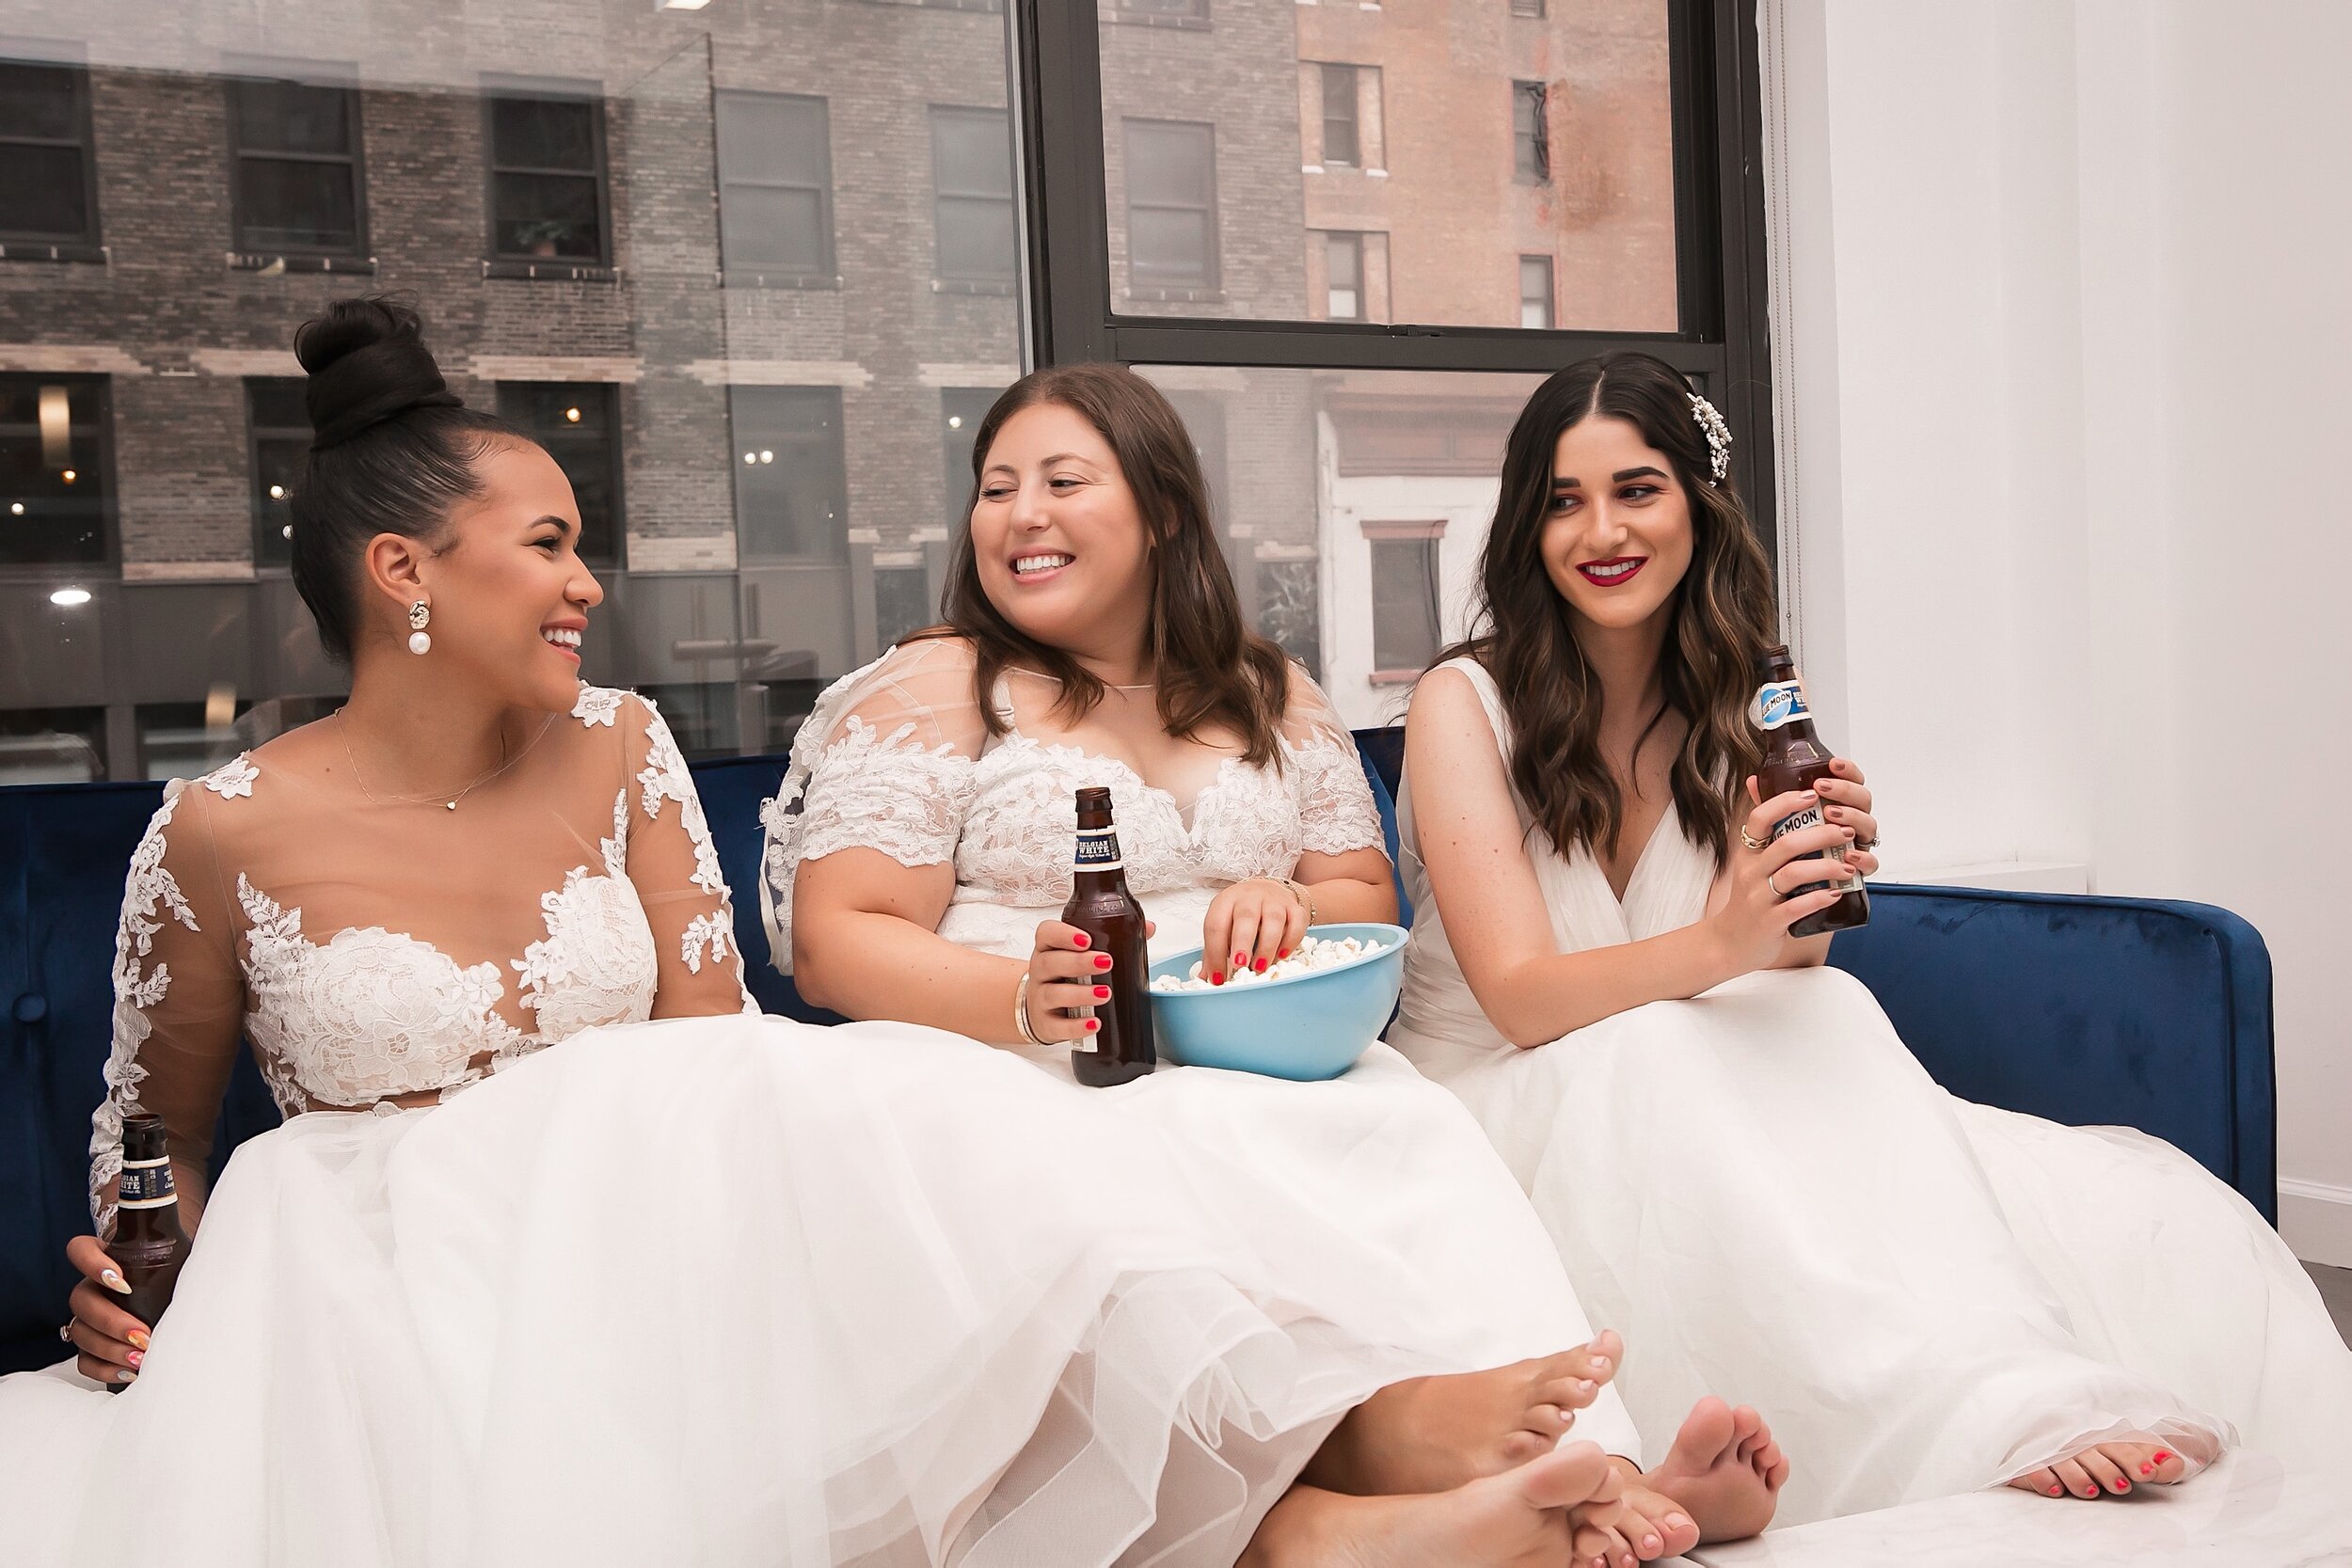
Recreating A Scene From Friends // 10 Tips For Planning A Group Photoshoot
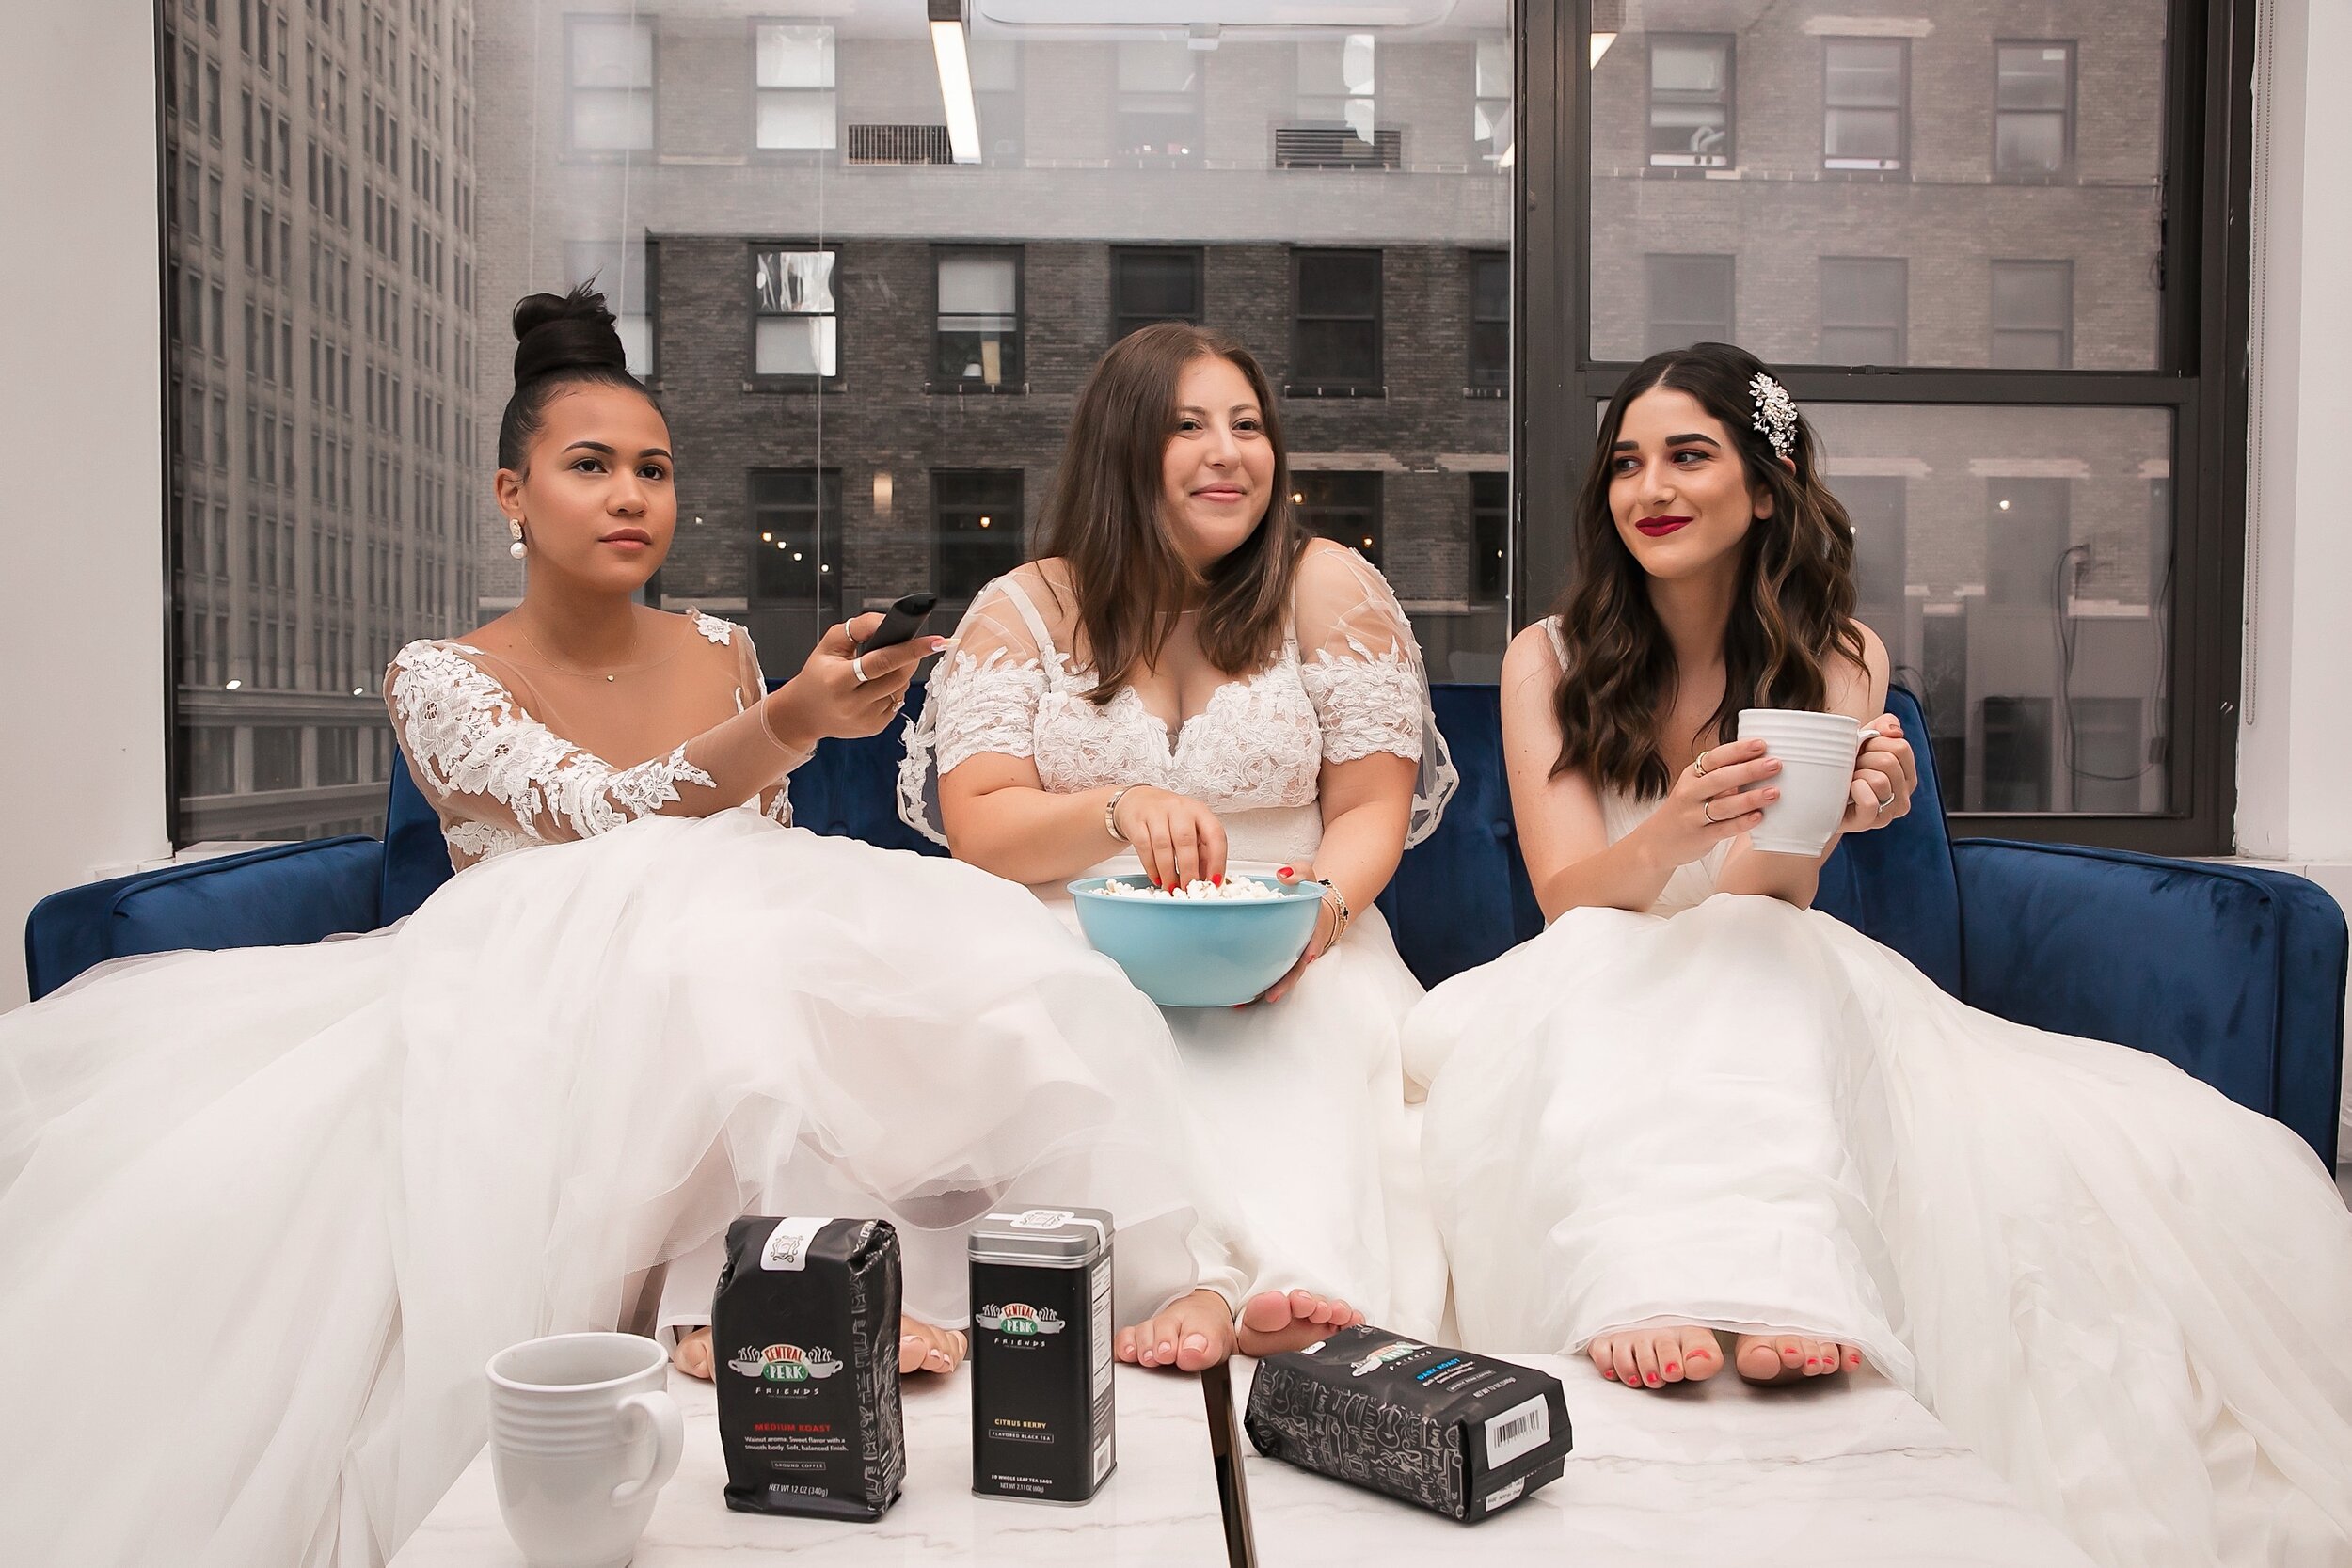
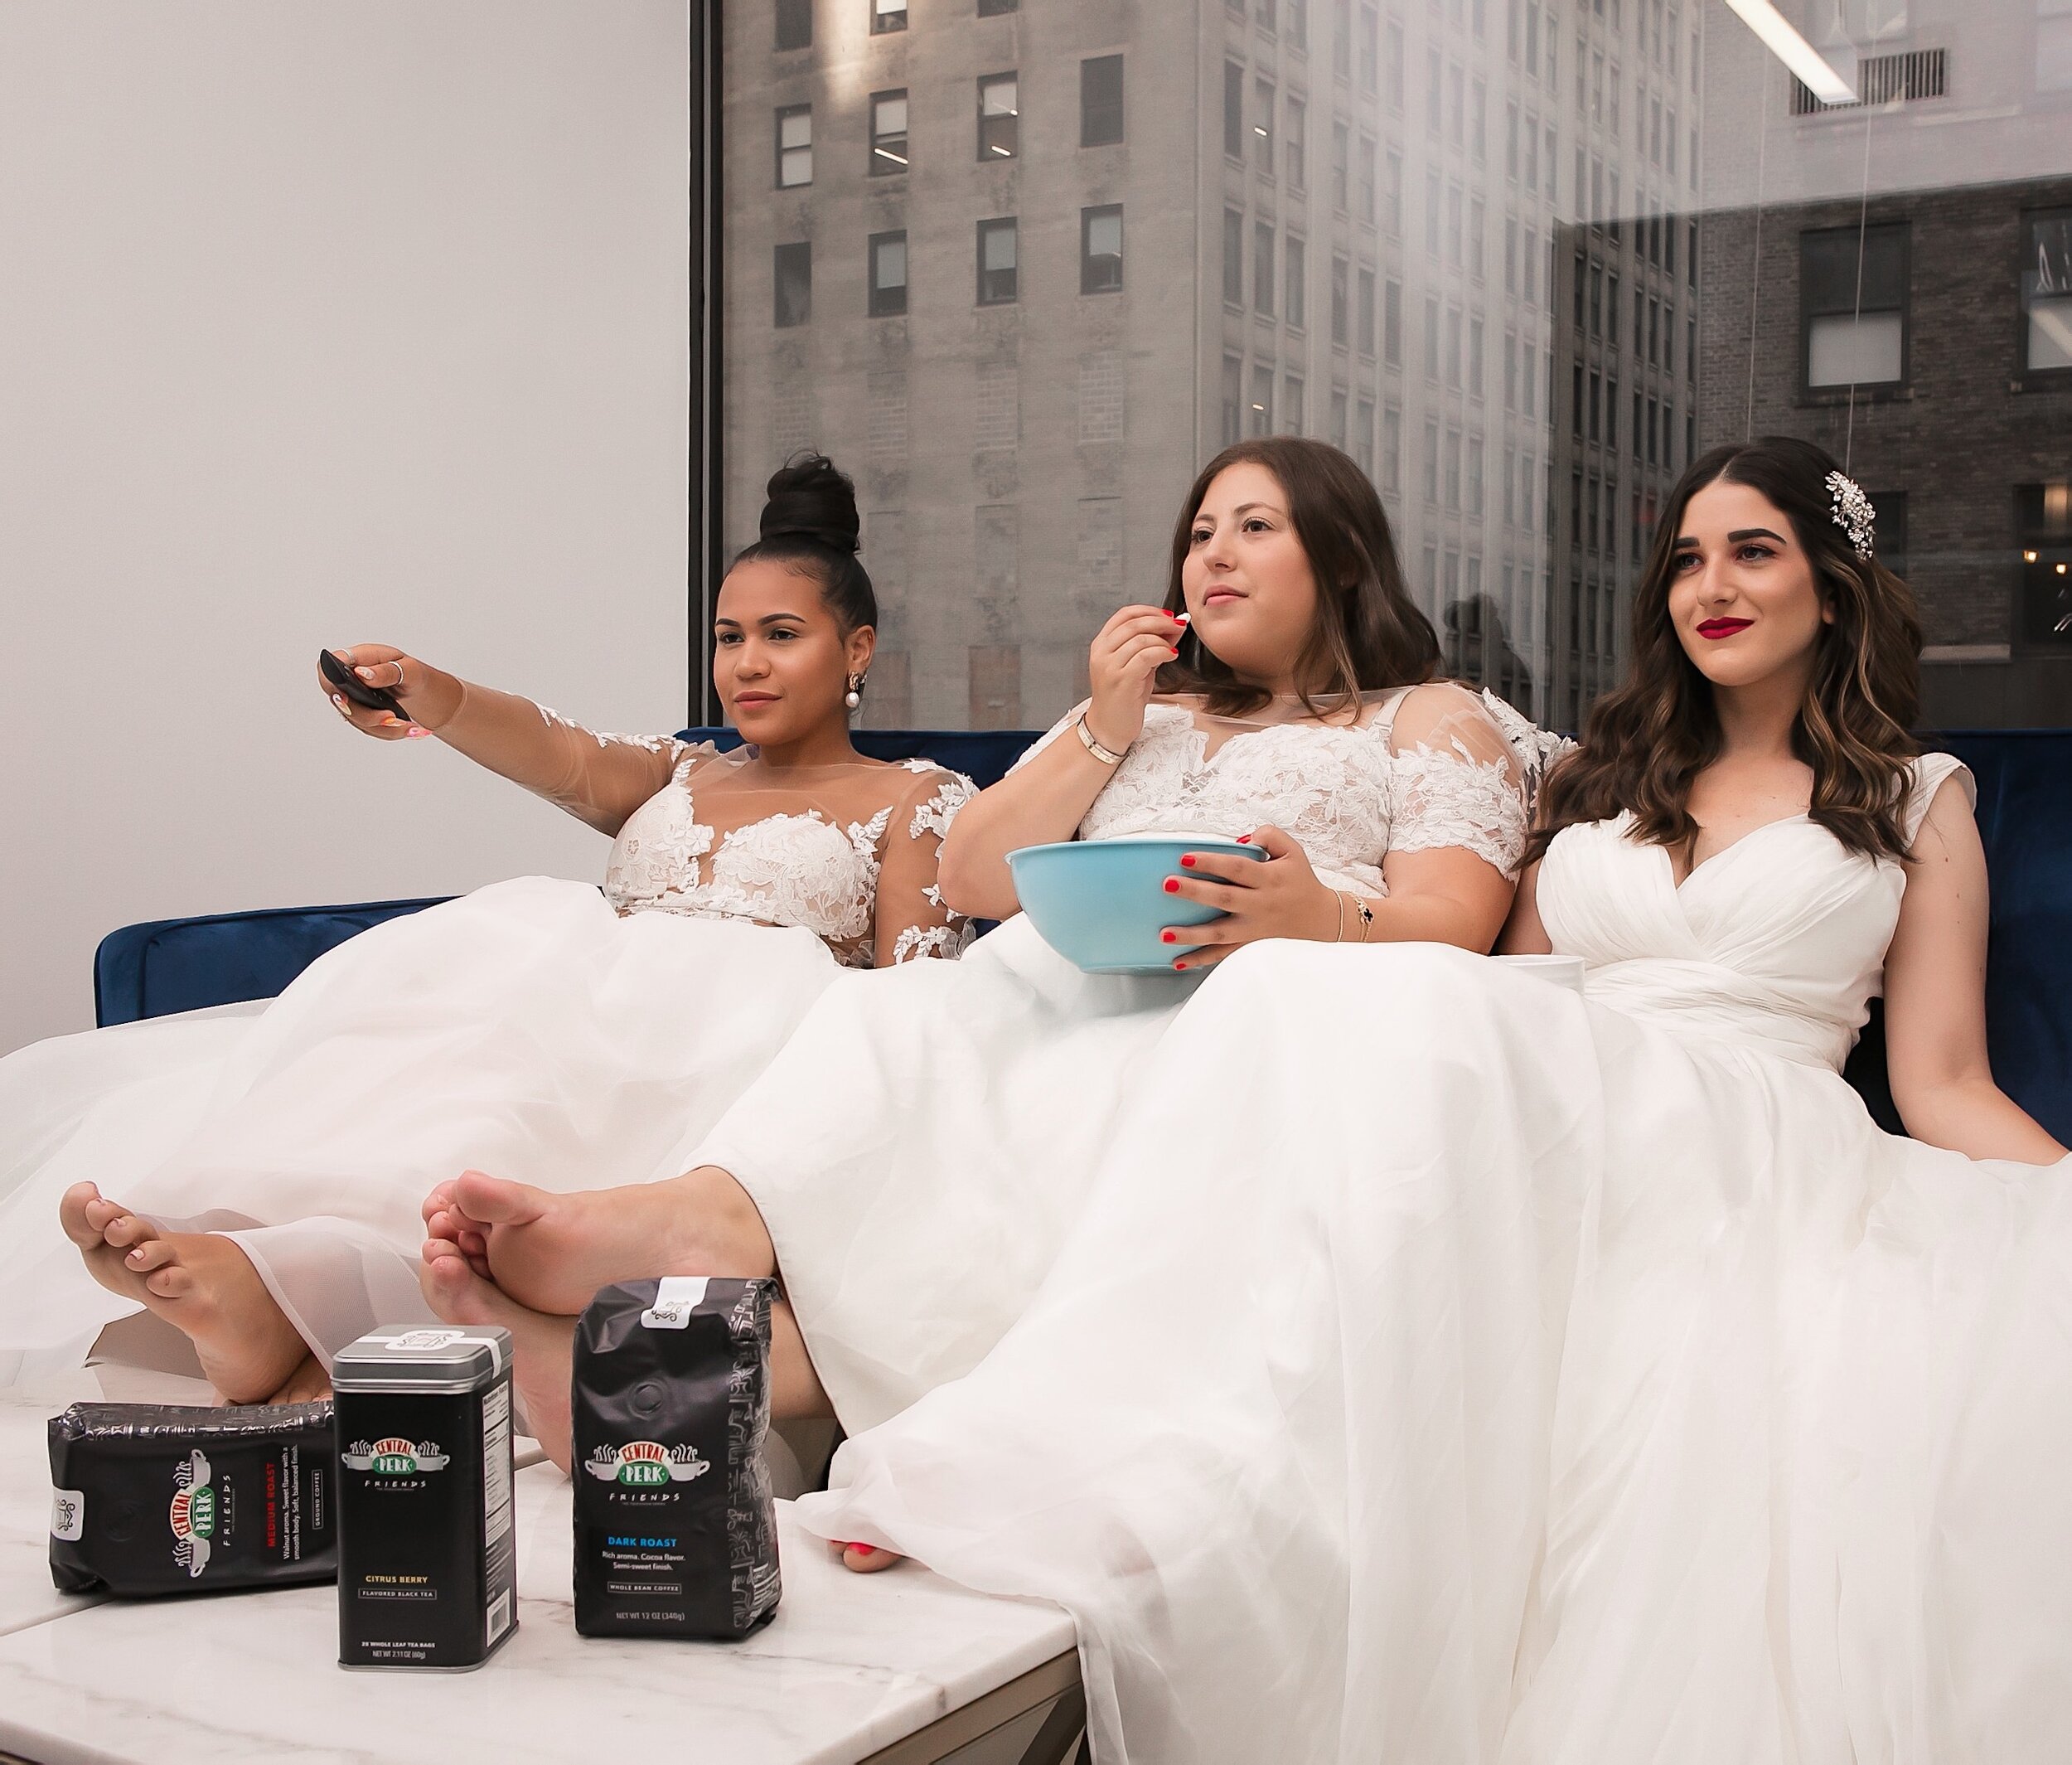
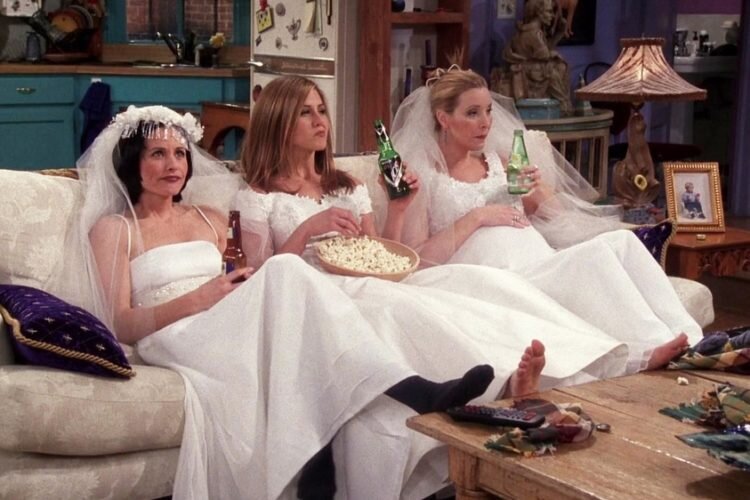
I’ve been a hardcore Friends fanatic for as long as I can remember. As a 90’s baby, I was even watching the show before I understood the jokes, so when I got an email about a potential Friends campaign, I knew I wanted in. I was nervous to apply because the campaign required a LOT of work for little pay, but… Friends! The campaign was to recreate a scene from Friends, which is something I’ve always wanted to do, but never had the motivation to actually make happen, so I figured this would be the perfect push. To be honest, I didn’t expect to actually be chosen as a participant, but the acceptance email was a very pleasant surprise and I could not have been more excited for the opportunity!
The biggest hurdle was actually figuring out who to include in this group shoot. I tried reaching out to the campaign coordinator, asking if she could connect me to some of the other ladies who were hired, but I was told that was not possible due to privacy concerns. Ugh. So I turned to social media, the ultimate connector, and asked my audience if anyone else got the Friends campaign. It didn’t take long for my photographer Lauren to respond that she had just shot with someone that morning who also got the Friends campaign and was wondering herself how she was going to pull it off. Enter, Hailey!
Two girls down, one to go to recreate the iconic wedding dress scene. Thankfully, not much more time passed before Aimee responded to my inquiry. As a fellow Friends fan, she was down to join the shoot for the fun of it. Once we had our group, there were still a lot of details to work out though, from the photographer to the location to how in the world we would get three wedding dresses in time for the shoot. We got very lucky because Aimee’s husband is her photographer and Hailey was able to secure us a space to shoot, so it was pretty much down to the looks. I decided to tackle the dresses since I have a bunch of wedding industry contacts, but it took quite a bit of back and forth to arrange. Clearly everything worked out and the images came out amazing, but putting together a group shoot took a lot more energy and coordination than your typical photoshoot, so I decided to put together a list of my best tips.
10 Tips For Planning Your Own Group Shoot:
Use Instagram to find and connect with other creators who share a similar vision.
Move the conversation out of DM’s and start a group text with all participants to keep everything streamlined.
Delegate the tasks. Each person should be responsible for specific aspects of the shoot (finding a photographer, securing a location, coordinating looks, negotiating with the brands, buying props, pulling shoot inspo, picking up/returning outfits…)
The person in charge of reaching out to brands should still make sure to cc everyone involved. This makes sure the group stays on the same page and any issues can be tackled together, without miscommunications.
Reach out to brands immediately, even if you don’t have the other details figured out yet, because communications and shipping often take longer than expected.
Anticipate issues and prepare some back up plans. Even though we had requested our specific dress sizes, we received an array of random sample sizes that did not fit us quite right. Assuming that would happen, our plan B was to either wear veils to cover up or sit strategically on the couch. We did the latter.
Confirm EVERYTHING with the brands, the photographer, and with each other. Especially when planning a shoot with people you’ve never actually met in person, it’s so important to continuously check in regarding tracking info, location and timing details, etc. You should even send a confirmation text the day of, making sure everyone’s on her way since you never know what could go wrong.
If shooting indoors, make sure your photographer brings the correct lighting equipment, just in case. We were shooting early morning in front of a large window, but even we needed a flash.
Make sure the photographer shoots from every direction so that everyone is guaranteed some photos with her best angle. Also, consider rearranging positions during the shoot so that each person has a chance to be in the center of the shot.
Upload and transfer the photos immediately after the shoot (unless your photographer will be editing them first) to make sure everyone receives the content in a timely fashion and avoid the hassle of sending the images later. There’s nothing worse than wanting to start editing the photos, only to have to wait for the person with the goods to find time to send. It happens all too often, so best to upload the images while you’re still together.
Images In Collaboration With:
Hailey from Sneaks to Stilettos and Aimee from Chic My Styles
Wedding Dresses: Watters (c/o)
Photography: Billy Joel Photo
xx Esther


